This is a topic I take very seriously, so I'm going to start this blog with a very controversial statement:
You will never become a successful photographer if you don't know how to use manual mode.
Of course, this may irk some of you. You may think, "Well, I take good pictures on automatic, I don't need to learn manual mode." Manual mode on your camera isn't the same as manual transmission on a car, manual mode on your camera is analogous to knowing how to drive.
Understanding how to control the mechanics and relationships of your camera settings will make you a better photographer. Period.

Street Seen.
Let's take a step back here. By now you may have read my Exposure Series, where I outline the three pillars of exposure, and the purposes and consequences of each of them. This blog post is a companion piece, explaining less the mechanics of manual exposure, and more the philosophy. And yes, there's a philosophy to using manual mode. There's plenty of good reasons why you should use modes other than manual, such as aperture priority or shutter priority, but my strongest contention is that you should never use automatic mode. Again, a very absolute and controversial statement. What is philosophy without absolutes?
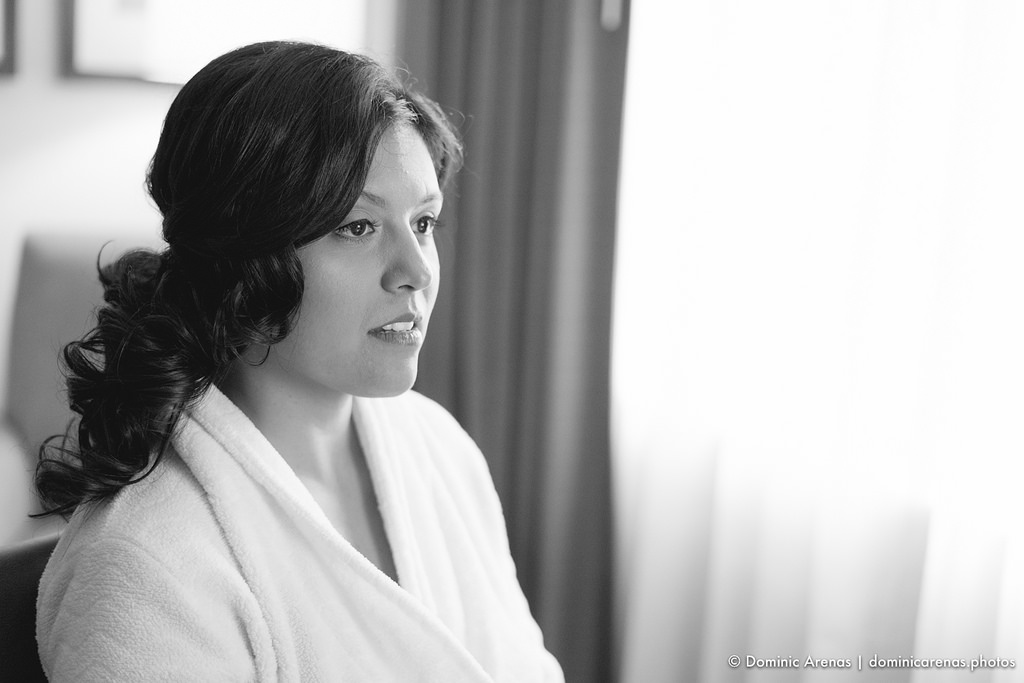
Linda in light.
Automatic mode is the inevitable conclusion to the goal of making photography effortless. This mode will make all of the determinations for you, aside from composition. It will calculate the optimal exposure for any given scene, whatever it may be. However, it's only doing this based on what the camera itself sees, not what you see. And therein lies the disadvantage of automatic mode. You are an artist. You look at a scene, a subject, a model, and your eye is drawn to something specific. A shape. A form. Texture. Shadows. Depth. Your camera doesn't see these things. Your camera looks at a scene, determines what you're focusing on, if it's a person or landscape, adjusts the aperture, shutter, and ISO so that you get a pleasing exposure. But what if you want to isolate your subject, using a low f-stop? Only you know that, your camera can't figure out that's your vision unless you manually set it.

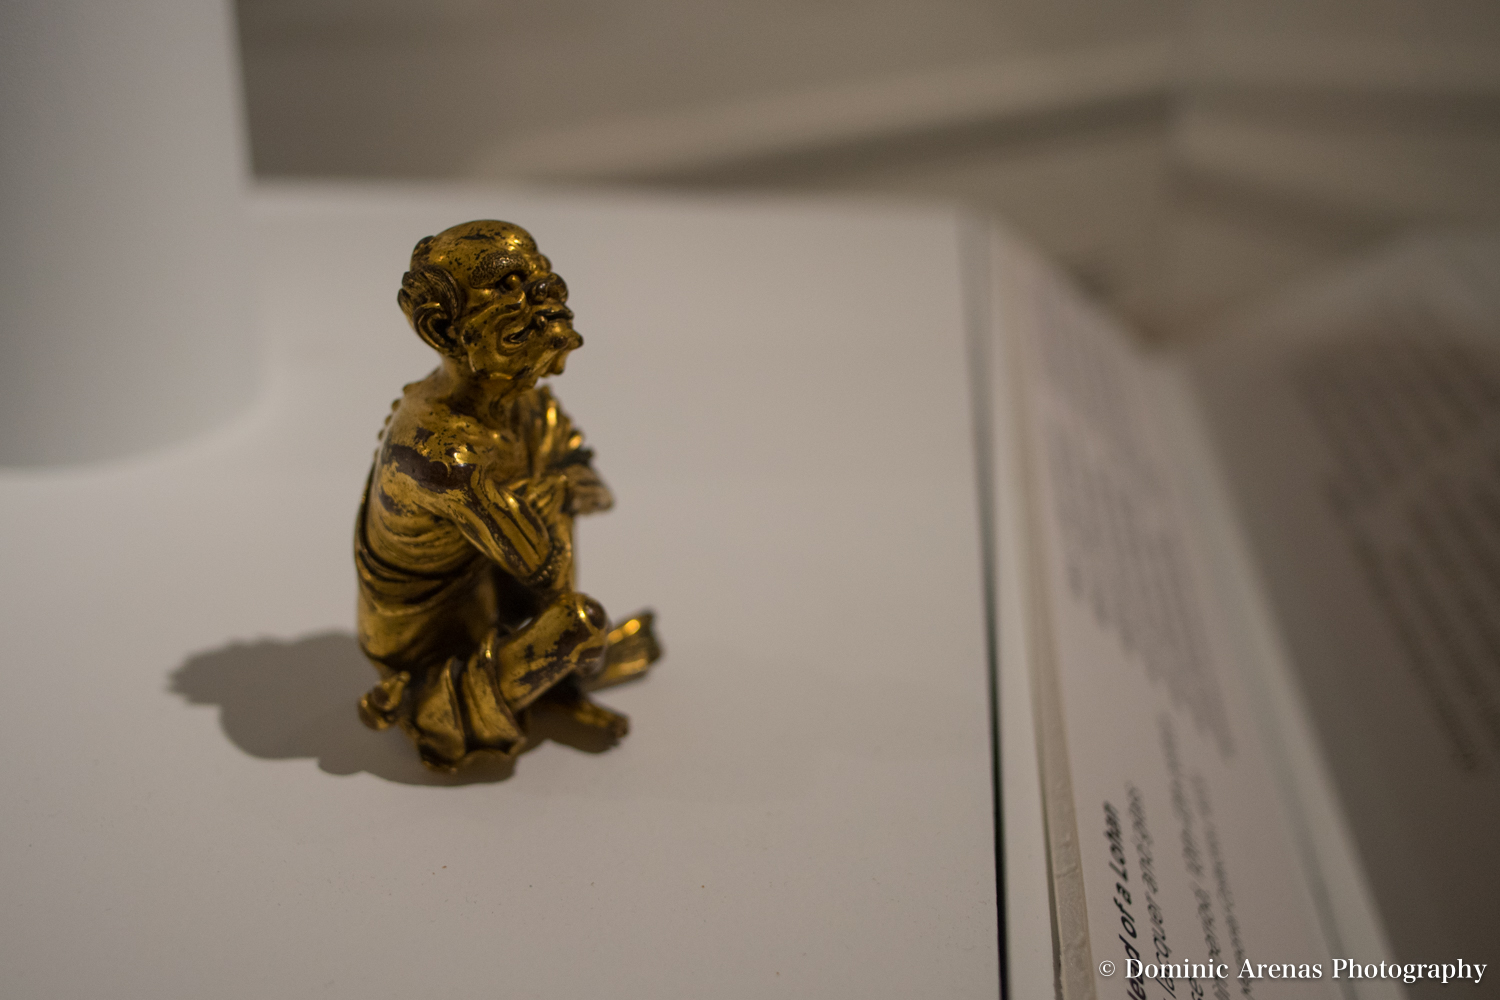
Caricature of a caricaturist.
I understand that when you're on a shoot, or out street shooting, that speed is the key. You want to take the shot as fast as you can, before that panhandler's cat stops looking at you. Automatic mode makes exposure mindless. But it's a trick. A gamble. You leave it up to chance, and this is not how a successful photographer works. It's become much easier to be less disciplined thanks to digital camera, with the 24 exposure per roll limit a thing of the past, and burst mode that lets you take as many photos as you can in a short period of time. You can hope that one of those two advantages of digital photography will provide you with some good shots. But if not, there's always Photoshop.

All of the lights.
Yes. Photoshop. Just photoshop it. It's a great tool, I'll admit. But there is no tool that makes up for getting the image you want right out of the camera. Sure, it's easy to blur out backgrounds in Photoshop to your liking, but what about the foreground? That's a bit trickier, but when you do achieve a shallow depth of field when you shoot, you don't have to worry about it! When you tell the camera what to do, you don't have to finagle the image into looking like you want it to. It just does. You use your voice through the dials and switches on your camera, and you create the exact image you want. And you save yourself a lot of time editing, you don't have to take a sup-par image and bring it to where you want it. It just is.

Black and white.
The old saying goes, you have to know the rules before you can break them. When you understand the pillars of exposure, it becomes second nature. You'll fumble at first. You might miss the shot a few times. But when you speak the language of exposure, it becomes effortless. You'll reference the light meter, but if you want the scene to be overexposed, you'll know how to do it! You might need to take a few test shots and work out what you want to change, but that's better than having to change it in Photoshop. One thing to think about it that when you change exposure in Photoshop is that you're stretching the limits of the image, bringing out detail from the image that may or may not be present. If it's not present, Photoshop must compensate, and the way it does that is by creating noise.

A gateway.
Finally, I want to cover two other common camera modes. I like to think of them as semi-automatic, not quite manual, not quite automatic. Aperture priority is one such mode, it lets you select your aperture, then calculates what the shutter speed should be based on the scene. This is a speedy way to take photos where you know your desired depth of field. The other mode is Shutter Priority, sometimes called Time Value Priority, and it's the opposite: it lets you choose a shutter speed, but leaves f-stop up to what the camera thinks is best. This is good for sports or any kind of photography where you want the quickest shutter speed. And on most cameras, there's an Auto ISO mode that can be turned on in conjunction with Manual, Aperture Priority, or Shutter Priority modes. This takes ISO out of the equation, although I highly recommend forgetting you ever read about it, as ISO has a huge effect on how your final image turns out. Semi-automatic modes are best used when you know attaining good exposure won't be too big of a problem, such as when you're shooting on a sunny day or with flash.